My son, Little Bee, has always been fascinated by chickens. He actually, at three years old, had a make believe flock of chickens that followed him around. One day he took his entire flock of chickens for a ride in the car to church. We had to leave the car windows open so the chickens could get fresh air and fly along beside the car when they needed to get the wiggles out. The chickens even came into church with us and sat quietly throughout the entire church service. Yes! Chickens are loved around here by my creative child.
I created this DIY Felt Chicken Egg Life-Cycle as a hands-on way for Little Bee to learn more about chickens. I enjoy using felt to create DIY Montessori puzzles. Felt is an economical alternative to actually purchasing the Montessori puzzles and sometimes there are not Montessori puzzles for every topic. Also, the DIY felt puzzles are lightweight and easy to store. 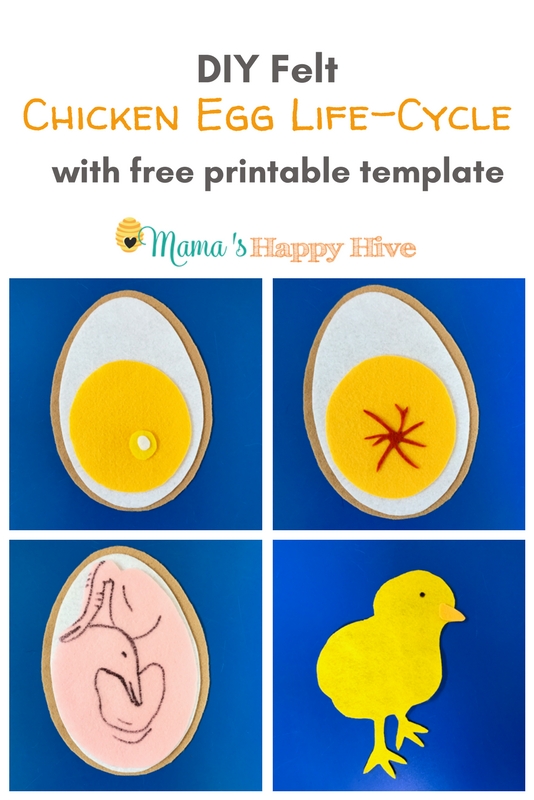
Materials Needed for the DIY Felt Chicken Egg Life-Cycle
- Felt Sheets in the Following Colors - 2 Light Brown, 1 White, 1 Dark Yellow, 1 Pink (or 1 Tan), 1 Light Yellow, Optional: 1 Red
- Black Magic Marker
- Scissors
- Chicken Egg Template Printable (scroll to the bottom of the post for this free printable)
Steps to Create the DIY Felt Chicken Egg Life-Cycle
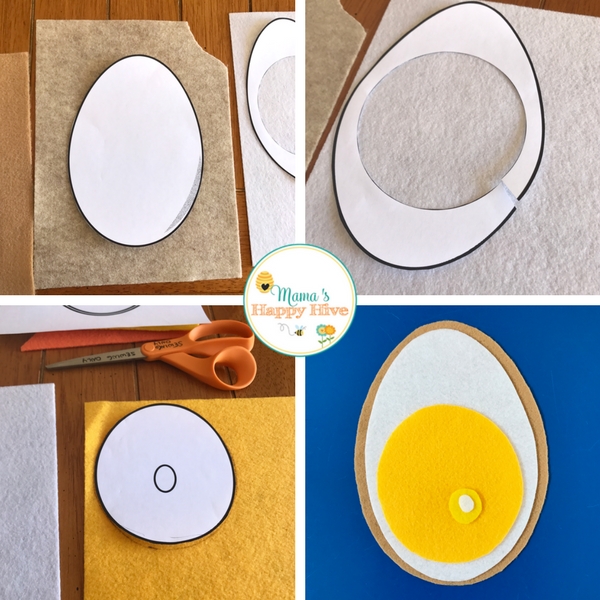
- Cut the egg out from the first page (after "Terms of Use" page) in the printable template and then trace it onto light brown felt.
- Then cut out the felt egg.
- Cut the second oval shaped line inside the egg shell out on the second page of the printable template. Basically you are cutting out the membrane or white part of the egg. Trace this oval shape onto white felt.
- Then cut out the white felt oval shape.
- Cut out the circle shape (the yellow yolk part) located on the third page. Trace the circle onto yellow felt and then cut it out again. Optional: you can cut out the smallest circle in a lighter yellow or white felt to create the "bullseye" part of a fertile egg.
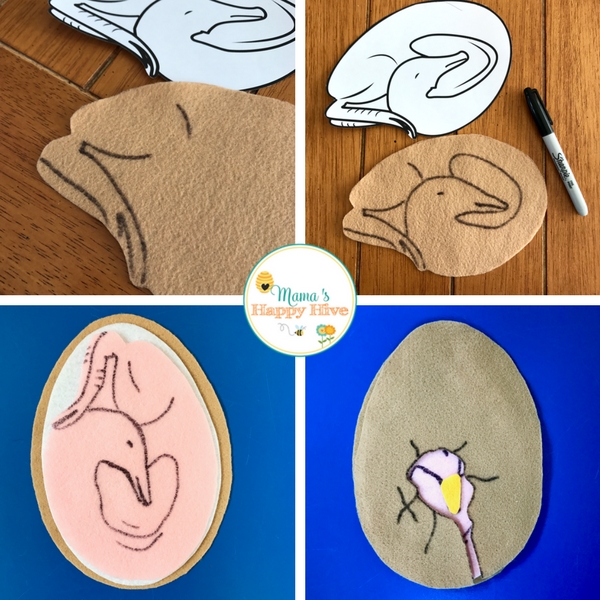
- Cut the outline out of the chick embryo located on the fourth page. Trace it onto pink (or tan) felt and cut it out again. With a magic marker draw the details of the chick using the template as a guide.
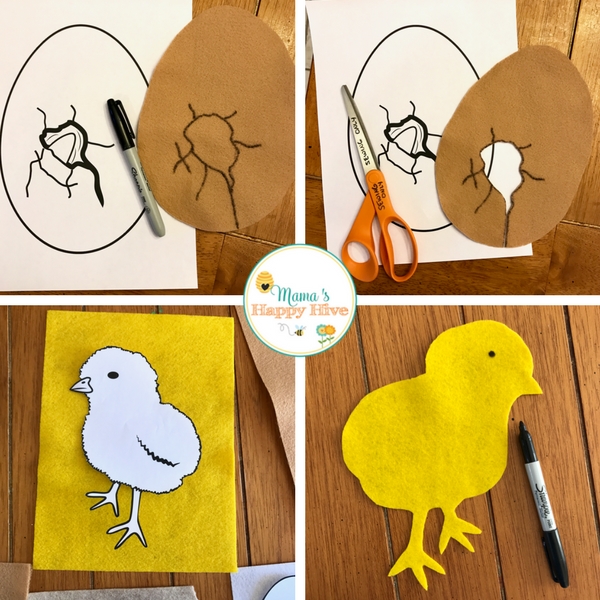
- Cut the outline out of the cracked egg located on the fifth page. Trace it onto light brown felt and cut it out again. With a magic marker draw the details of the crack in the egg using the template as a guide. Cut out the cracked part.
- Cut the outline out of the chick located on the sixth page. Trace it onto yellow felt and cut it out again. With a magic marker draw a black eye and a beak.
Optional added features:
You can also cut out the beginning stages of the embryo by creating a red spider looking membrane (see photo below).
Another optional feature is cutting out a small yellow beak that can be placed on the hatched chick or onto the hatching (pecking) chick (see the photo above).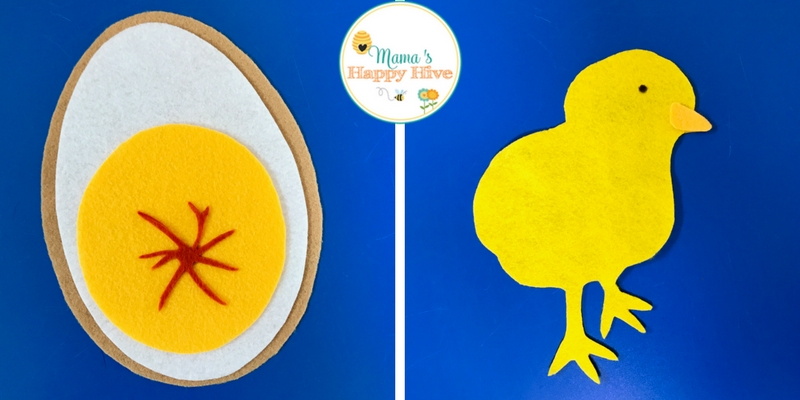
21 Days from Egg to Chick
It takes a total of 21 days from the laying of an egg till the chick is hatched. The process is truly an amazing feat! I can't believe that a chick can form in less than a month! Visit "The Poultry Site" for real pictures and an explanation of this marvelous process.
Download your Chicken Egg Life-Cycle Template by Clicking on -->
EGG
More FREE Printables - Chicken Life-Cycle Sequencing Activities and Spinner
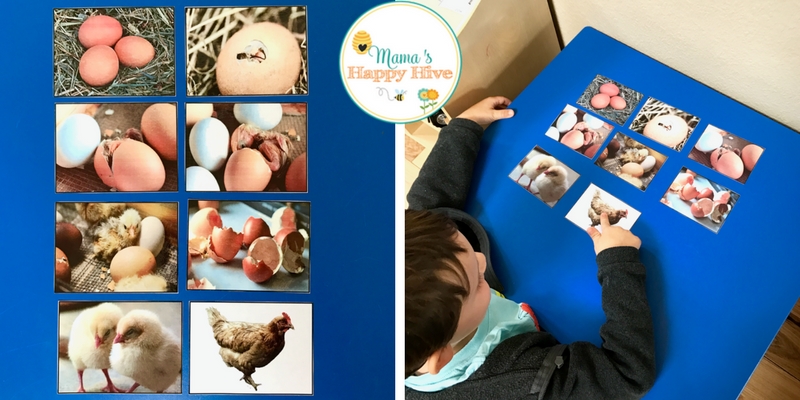
The following Chicken Life-Cycle images are from the "Welcome to Mommyhood" blog. These are beautiful real images of the process of the formation of a chicken - from egg to adult chicken. Little Bee helped place the images in order of the hatching chick. He had to really examine the images to determine the order.
Also, included is a life-cycle spinner with four images. I combined the spinner with my farm life 3-part cards and also the chicken Safari Ltd life-cycle set. The 3-part cards are wonderful for a preschool aged child to use for vocabulary development and rational thinking. The matching of objects to cards is a wonderful activity for a younger (2-3 years) child to practice visual discrimination. 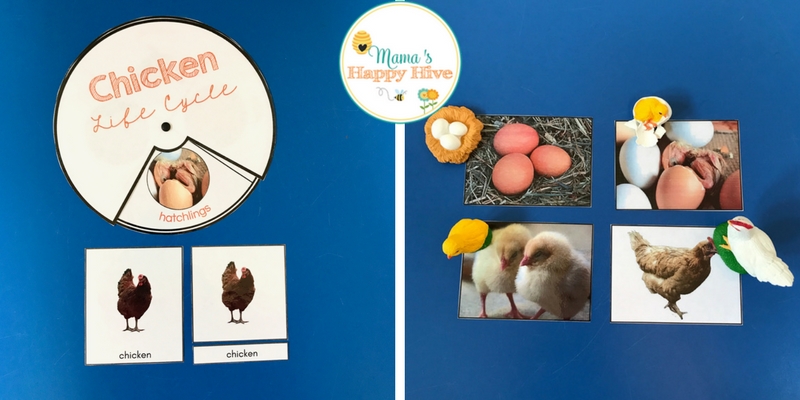
You may also enjoy our other farm themed posts ~
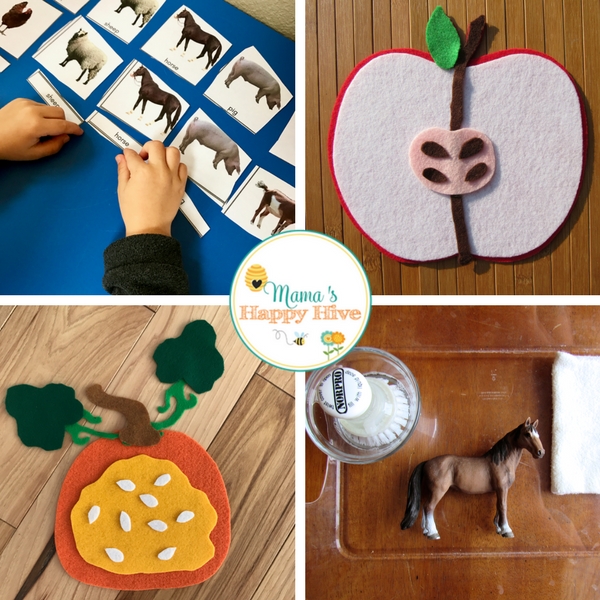
Montessori Inspired Horse Unit
Montessori Farm Life 3-Part Cards
DIY Felt Pumpkin Parts Life-Cycle


Hello Vanessa,
I am a first year Kindergarten Teacher and my class is getting ready to hatch eggs in our classroom next month! I would love this felt template to make for my class so they can have a hands on learning experience with how eggs look as they develop. The link to the template said it was unavailable but I was just wondering if there was anyway that I could still get it.
Thanks do much!
Hi Lauryn,
The link is now fixed. I also sent you a couple of emails which includes the file you are looking for as well.