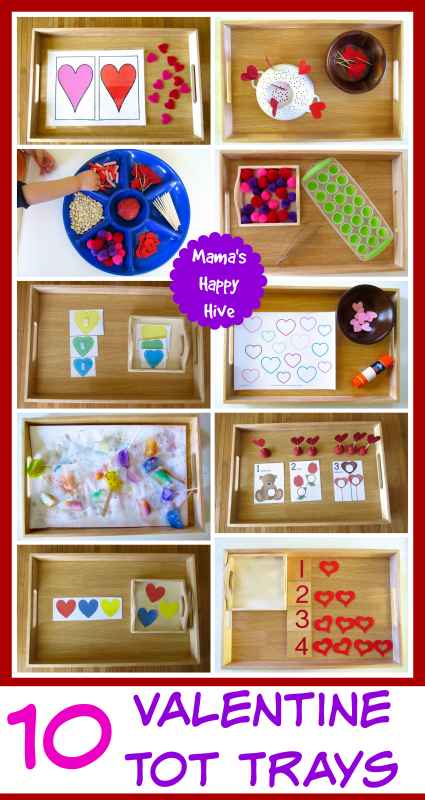
This past week, I went a little heart crazy in my last minute preparation for Valentine tot activities. I was searching through Pinterest and found all these amazing free printables. The wheels in my brain started to turn and I created over 20 Valentine tot trays! Yes, I know that is a LOT of tot trays. It's what happens when the creative side of my brain goes into overdrive! I am going to share 10 of the tot trays with you here in this post and please visit - 8 Montessori Inspired Valentine Trays for more!
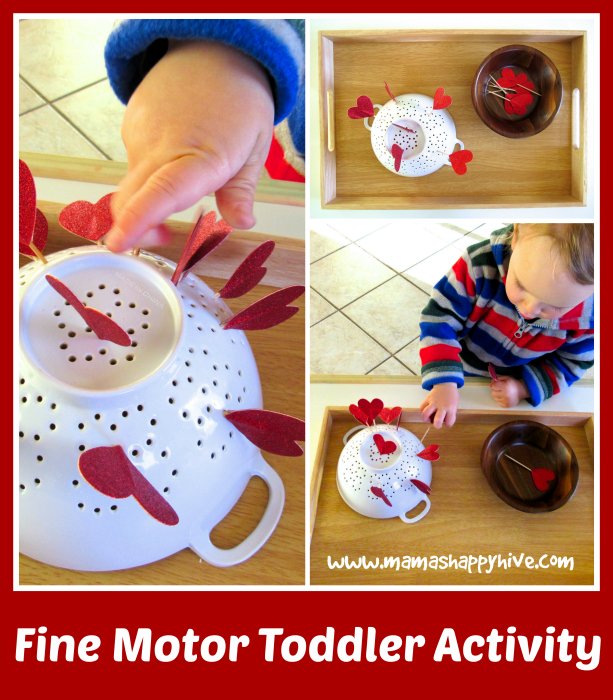
1. Fine Motor Toddler Activity
This unique toddler activity helps to develop a child's fine motor hand movements as well as hand-eye coordination. In these pictures, Little Bee is carefully placing a toothpick (with a heart handle) into the small holes of a fruit strainer.
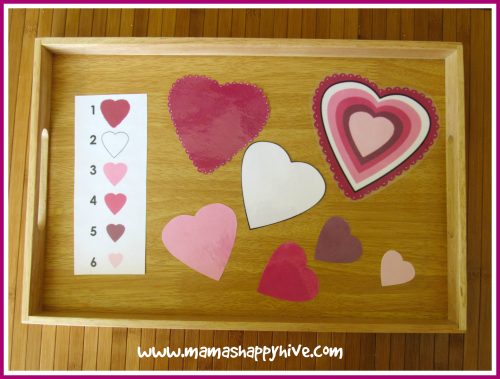
 2. Heart Color Match Up
This is a wonderful activity for a toddler or a preschooler to learn subtle color differences. I found this awesome Free Valentine's Day Printables for Preschool at the Fun Frugal Homeschool blog.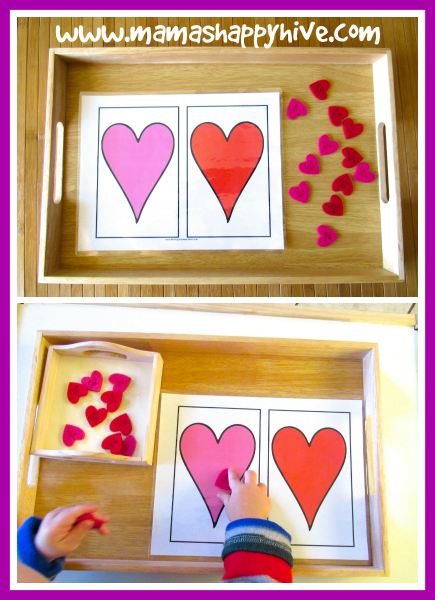
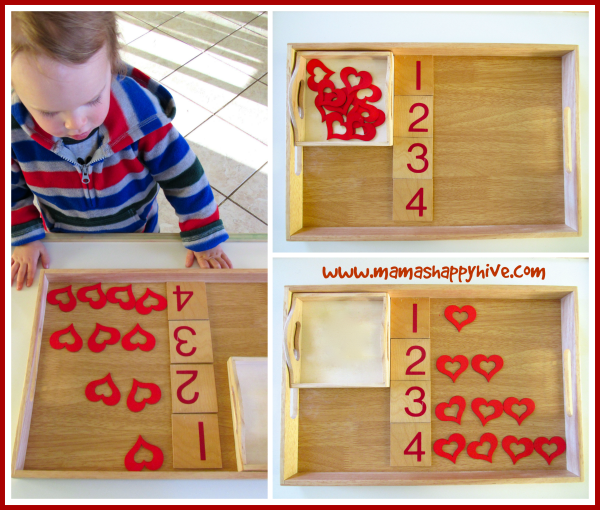
3. Counting with Hearts
This is a simple tray set up for becoming familiar with counting. The child is able to visualize the number and then also see that the number represents this many objects (hearts.)
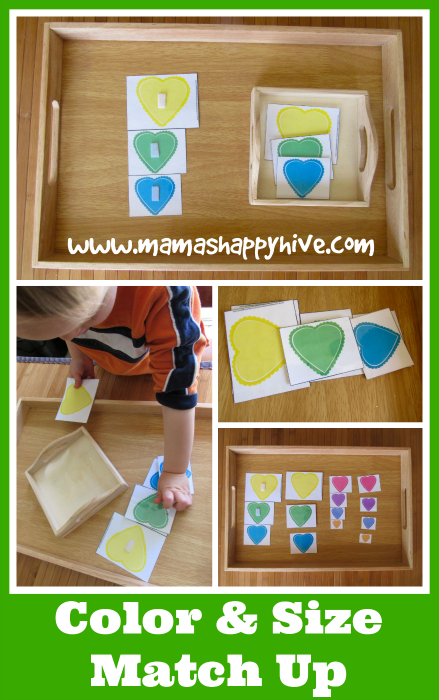
 4. Heart Color and Size Match Up
This is a wonderful printable from the Confessions of a Homeschooler blog - visit Valentine's Day Preschool Activities & Printables. Little Bee had no problem matching up the three yellow, green, and blue heart pairs. I attached velcro to the matching hearts to make this activity more fun for a toddler. For an older, preschool aged child, adding all the hearts to the tray for match up makes it more challenging.
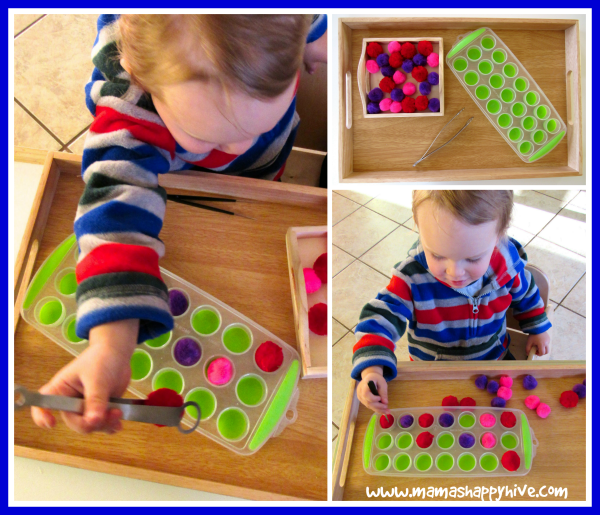
 5. Pompom Transfer with Tongs
This transfer activity develops the fine motor control of the hand. The child uses the tongs to transfer a pompom to the slots in the ice-cube tray.
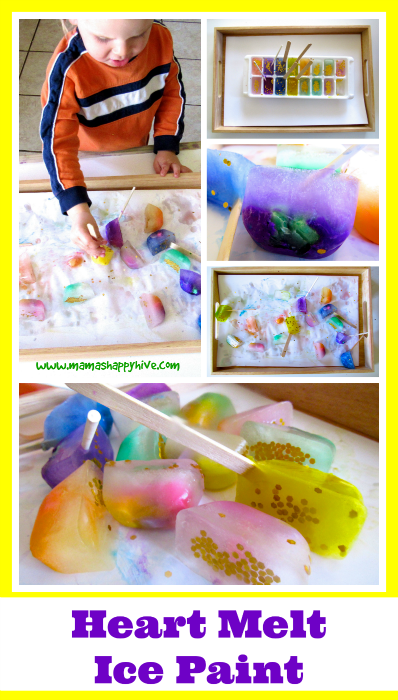
 6. Heart Melt Ice Painting
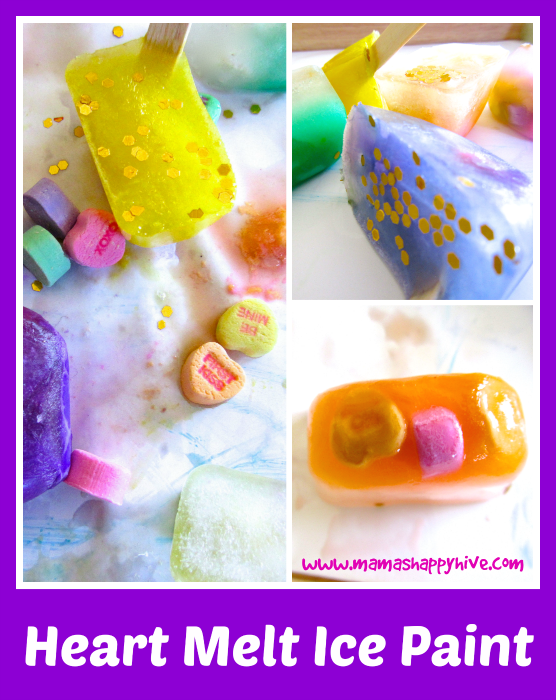
This heart melt ice painting activity came out of the blue for me in my brain storming Valentine frenzy. I thought it would be such an awesome sensory experience to paint with ice and color. It's like watercolor paints but with ice instead. I wondered if the candied Valentine hearts would produce enough color to paint with. So I experimented with using 3-4 candies hearts per ice cube tray and I also added finger paints to six ice cubes... just in case.
I was pleasantly surprised, that yes indeed the candied hearts produced nice water paint colors as the ice melted. There was no need for the added finger paints! Little Bee loved this activity. Plus, all those colorful ice cubes are gorgeous! Don't you think?
7. Number Play-dough Mats
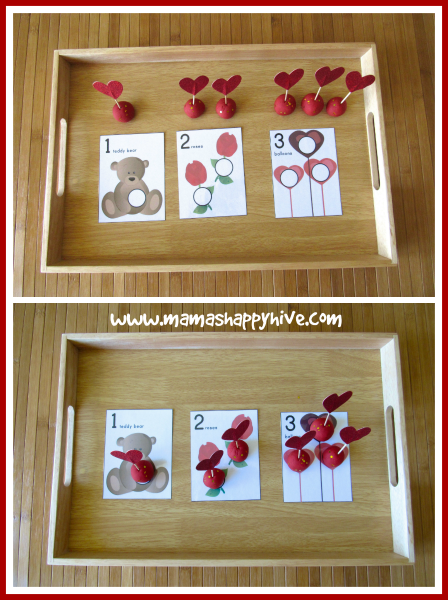
Little Bee and I enjoyed rolling our red play-dough into balls with gold and silver glitter added for an extra Valentine sparkle. Then I found these sweet counting Valentine Do-a-Dot Printables on the Gift of Curiosity blog. Little Bee had fun matching the play-dough balls up with the correct number of circles.
8. Sticky Play with Glue and Stickers
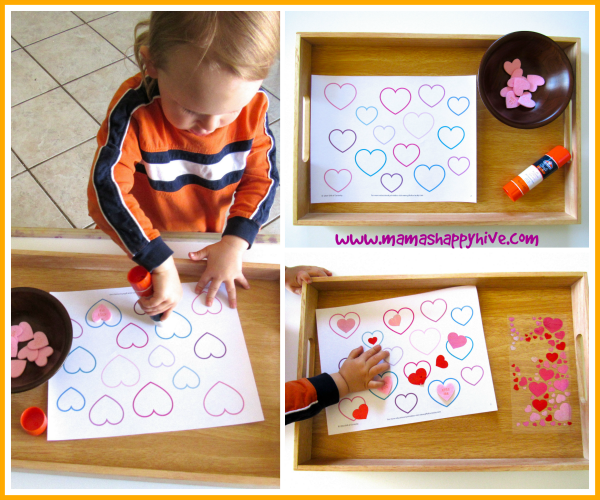
This activity was purely for toddler sticky fun and play-time. Little Bee loves using the glue stick and entangling his fingers between a bunch of stickers all at the same time. This Valentine Play Dough Mat printable is found on the Gift of Curiosity blog.
9. Heart Color Match
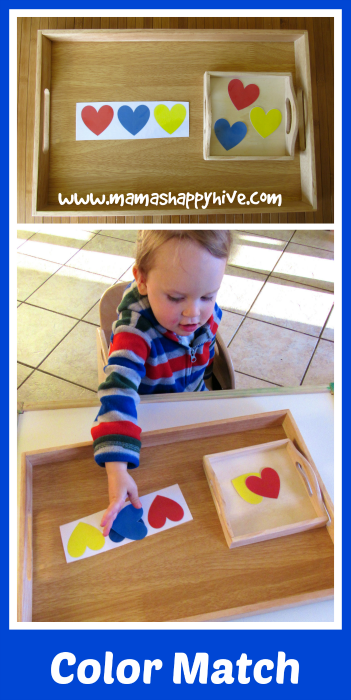
This sweet Color Match Hearts Printable was found on the Kingdom First Homeschool blog. It came with a whole page of nine colored hearts to match. I choose three hearts for Little Bee to match at one time. Little Bee had no problem matching the primary colored red, blue, and yellow hearts. It was more challenging for him to match the other colors of orange, green, purple, pink, black and white. This activity helped me realize that I need to familiarize Little Bee with these other colors more.
 10. Valentine Invitation to Play
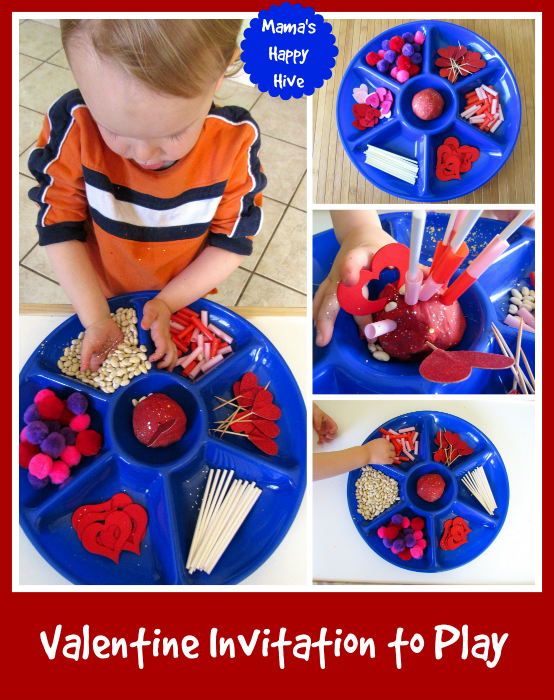
Our last tray for the day is a beautiful Valentine invitation to play activity. I gathered up several of the left over Valentine decorations and added them to this tray for Little Bee to freely explore. On the tray you will find: pompoms, felt hearts, toothpick hearts, straws cut into one inch pieces, wooden cut-out hearts, popsicle sticks, and a ball of red play-dough. I also added white beans with silver glitter for additional tactile fun.
Follow Vanessa @'s board ~ Mama's Happy Hive ~ Blog on Pinterest.



What cute trays! I love your ideas
Thank you Yuliya! I love your ideas!!!
So I have the pom poms! Check! We’re definitely doing that one. AND I love the toothpick and heart activity. I have these foam heart stickers from the dollar store that would work perfect as the heart handle. So cute!
hello, that was amazing, thank you so much I love the ideas, have a question! do you do all of them in one day? do you repeat the activity the next day again? I mean do you put the trays for the whole week for your kid to play with or change them daily? thank you so much
I would go by the interest of the child. I wouldn’t do all of these trays in one day. Offer 2-3 trays each week to your child and switch them out once the child is no longer showing interest.
thank you for your reply but I mean do you put all your ideas one day? would you please please please answer this question! I mean if you prepare 10 tray for one theme do you set up them at once and each day choose some to play? my quesion is do you set up all the trays one day? (and take a pic) I wanna do like this for each theme and take picture and share with others, thank you so much, please answer this one.
Hi Shaya, It depends on the topic I am presenting to my child and my time frame for a blog post that is due. I will admit that sometimes I end up photographing all my activities in one day. However, I do not recommend presenting that many activities to the child in one day. It can be too much for them to take in over a short period of time. It is better to present 1-3 new things to a toddler each day and to follow the child until they are ready to move on. The ideal for presenting new trays and ideas for a toddler would probably be 1-3 new trays a day to not overwhelm the child. Every child is different as well. Some children can tolerate more and some will tolerate less. My child enjoys all that I have to teach him and he absorbs it quickly. Some children may have sensory issues and will need a slower pace. They can not take in that much information so quickly. So it’s really important to follow the child’s needs.
To answer your question about how I organize my blog posts for a subject – I usually take a couple days to plan my subject. So I make a list of what I will need to present a subject, go to the store and buy my supplies or find my supplies in my basement. I craft or create the printables that I will use on another day. I set up my trays for pictures over one to two days depending on the subject. Sometimes I take pictures over an entire week! Little Bee likes to join in on the fun as I am taking my pictures. Sometimes I have already presented the activity to him and sometimes it is his first time. So I capture it all on the camera. If he is not ready for an activity and it is too challenging for him, I take the activity away and will bring it back at a later date. The activity trays that he loves, I put on his shelves for him to enjoy. Those trays will stay on his shelves for a week up to a month depending on how much he engages with the activity. I follow the interests of my child. I hope this answers your question. Oh, and after I take photos of the activities, I edit all my photos and put them into collages. Then I put them on my blog and write my post. After that I promote my post on social networks like Pinterest and Facebook. The whole process to write one blog post like the Valentine Tot Trays can take an entire week. I put a lot of work into each blog post that I write.
  Take care, Vanessa
Oh my God, you are so sweet, I was reading your reply with tears in my eyes, you wrote with details, thank you so much, thats what I wanted exactly, it helps me alot, I am a mom and a new ESL preschool teacher and never heard of tot trays before, here in my place its not common to have tot tray or tot school thats why I asked you and wanted to gain experiences and then share with other moms here. thank you may God bless you and I wish all your dreams come true. thank you thank you thank you
You are too kind! I hope you have lots of fun with creating your own tot trays! I’m glad I could answer your questions.
Oh my sweetness! I love your trays! Oh how I miss tot school (!!) Thanks so much for including my color match heart printable and linking back to me!
You are so welcome! We had so much fun with these Valentine tot trays!
Thanks for linking up. I’m featuring you this week on Natural Beach Living.
Thank you for the feature!
I just love your tot trays! Not only are they fabulous for learning, but they’re so attractive!
Gosh, I really miss ice cube painting. Our homeschool has gotten a lot more serious these days and I have forgotten how fun all these activities are! I need to take a homeschooling break and go back to doing some fun stuff for a while!